This article was written by library student assistant Meredith Conn. Meredith is a student at Loyola University Maryland, part of the Class of 2024. She plans to major in Forensic Studies with a minor in Biology.
This pop-up class, Sticker Making With Cricut Print Then Cut, was hosted by Youlanda Halterman (Digital Technology/Web Supervisor). The class is an introduction to the Cricut Maker to create personalized stickers, among other items. This process involves printing with a vinyl printer, and then cutting with the Cricut Maker. The Cricut Maker does not print – it solely cuts the paper you insert. The largest paper size you can insert is 8.5’’ x 11’’, and the largest image is 9.25’’ x 6.75’’.

The first order of business in the process of creating a personalized sticker is to calibrate the Cricut Maker. To do this, from the computer you go into Cricut Design Space, the home page. From there you choose machine calibration, and more specifically print then cut. This will print a calibration sheet, which you then place on the mat for the Cricut machine and load it in.
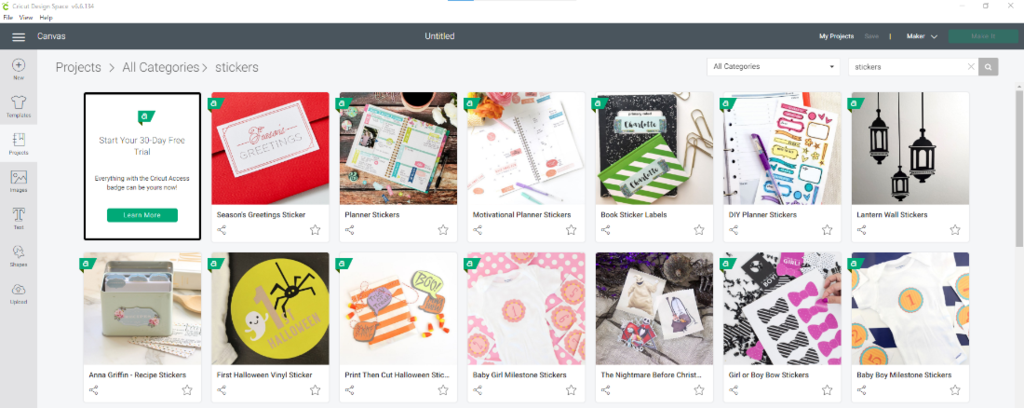
In terms of printing the actual stickers, the tutorial takes you through a very in depth tutorial of how to do so, from creating the image/design all the way to the finished product. It is recommended that you do a practice run on regular printer paper as to not waste the vinyl sticker sheets. Additionally, you should print on white, as the colors will show up better. When creating a design, there are many ways to go about it. You can upload your own image or choose text and shapes. With these options, you are capable of further manipulating the image into a certain shape, size, or removing a background.
When making stickers, it is recommended to use uncut vinyl opposed to the precut papers as then you have more freedom with size. To protect the image, there is a clear coat you can place on top to prevent smearing of the ink. To print, make sure the fill settings are to “print” so that it says “cut and print.” You can then print from the printer, place the clear coat on top, place onto the mat, and load into the Cricut Maker. From there, you may need to adjust the pressure to be sure it cuts all the way through, or you could just cut multiple times to ensure complete separation. When removing the stickers from the mat, peel the mat off the paper (not the paper off the mat) or else the paper will curl.
This Cricut Maker can also be used for creations beyond stickers. It can be used to create personalized magnets, with the same concept as the stickers but instead of using the sticker vinyl sheets, you use magnet sheets. It can also be used for creating business cards or custom stationary on cardstock, for example, as you will get a precise and uniform cut. The Cricut Maker is very versatile and can be helpful in a multitude of ways.
Overall, this video is an excellent introduction on how to use the Cricut Maker for beginners, and can also be used as a refresher. This was a live recording, so as you watch you get answers to questions asked by your peers. If you are interested in making personalized stickers, either to hand out or use for decoration on your computer, this video is very helpful to get you immersed in the experience of how to do it.
Learn more about the Innovation Station and view recorded technology pop-up classes.